Following are the Angular CLI commands to create the first Angular app.
npm install -g @angular/cli

ng new my-dream-app

cd my-dream-app

ng serve
Run the following command to create your first Angular app.
ng new my-first-app 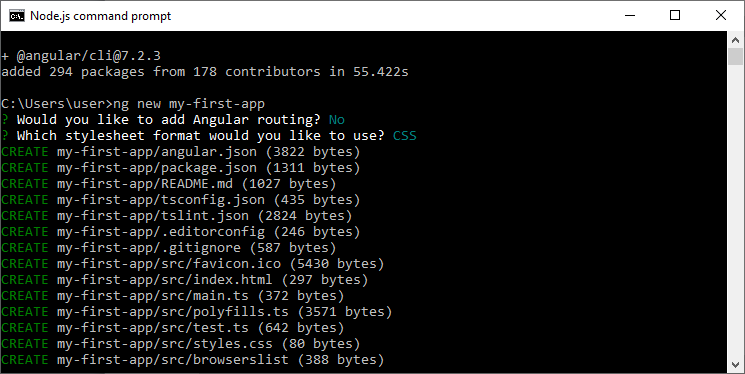
cd my-first-app ng serve 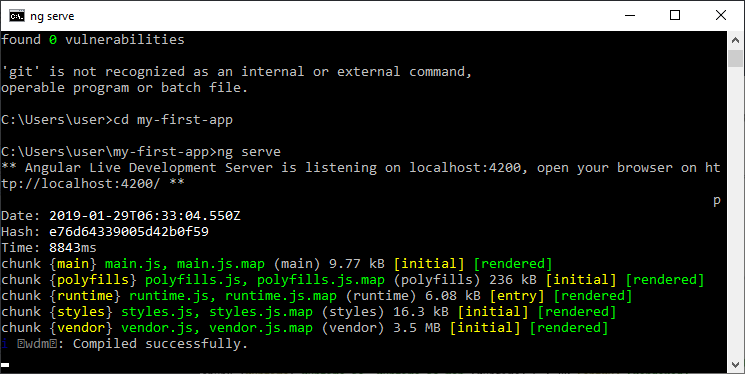
Your server is running on localhost:4200. Now, go to the browser and open it.
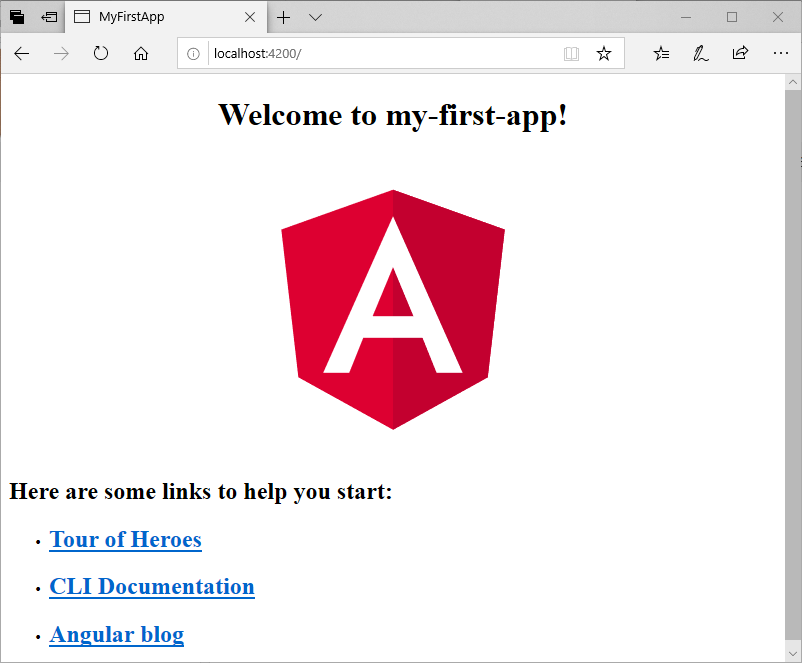
Now, you need an IDE to edit and run your app’s code. Here, we are using WebStorm.
Open WebStorm and open your app “my-first-app” in the IDE. It will look like this:
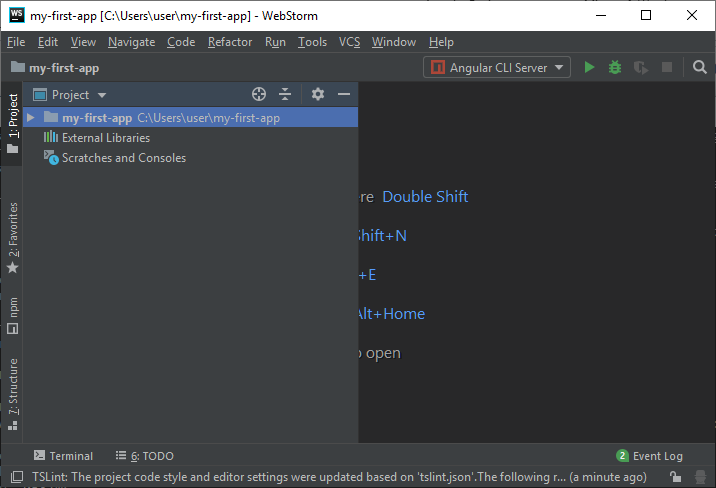
Here, go to src folder, you will see app folder there. Expand the app folder.
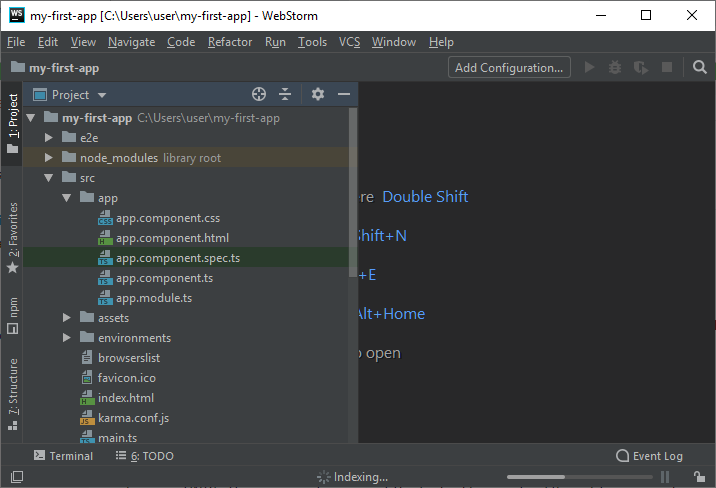
You will see 5 components there:
- app.component.css
- app.component.html
- app.component.spec.ts
- app.component.ts
- app.module.ts
You can see the code within the different components to understand what is going on and which part is responsible for the outlook of the app.
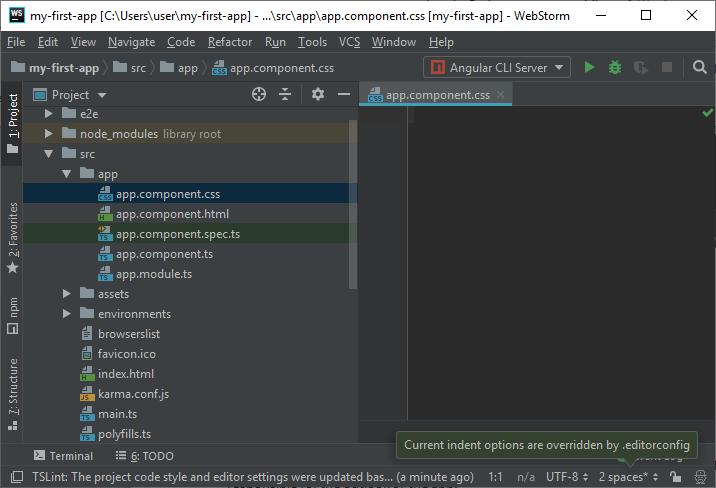
app.component.css
This part is empty because we don’t specify any CSS here.
app.component.html
This is the most important component, the front page of your app. Here, you can change the salutation used before your app’s name. You can also change the content on the front page and their respective links.
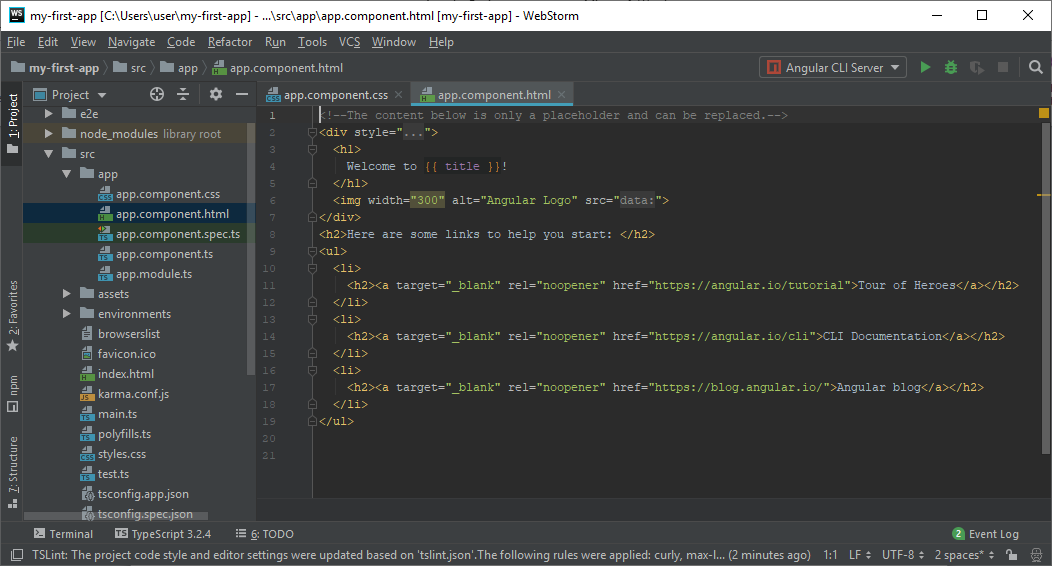
<div style="text-align:center">

  <h1>

    Welcome to {{ title }}!

  </h1>

  <img width="300" alt="Angular Logo" src="data:image/svg+xml;base64,PHN2ZyB4bWxucz0iaHR0cDovL3d3dy53My5vcmcvMjAwMC9zdmciIHZpZXdCb3g9IjAgMCAyNTAgMjUwIj4KICAgIDxwYXRoIGZpbGw9IiNERDAwMzEiIGQ9Ik0xMjUgMzBMMzEuOSA2My4ybDE0LjIgMTIzLjFMMTI1IDIzMGw3OC45LTQzLjcgMTQuMi0xMjMuMXoiIC8+CiAgICA8cGF0aCBmaWxsPSIjQzMwMDJGIiBkPSJNMTI1IDMwdjIyLjItLjFWMjMwbDc4LjktNDMuNyAxNC4yLTEyMy4xTDEyNSAzMHoiIC8+CiAgICA8cGF0aCAgZmlsbD0iI0ZGRkZGRiIgZD0iTTEyNSA1Mi4xTDY2LjggMTgyLjZoMjEuN2wxMS43LTI5LjJoNDkuNGwxMS43IDI5LjJIMTgzTDEyNSA1Mi4xem0xNyA4My4zaC0zNGwxNy00MC45IDE3IDQwLjl6IiAvPgogIDwvc3ZnPg==">

</div>

<h2>Here are some links to help you start: </h2>

<ul>

  <li>

    <h2><a target="_blank" rel="noopener" href="https://angular.io/tutorial">Tour of Heroes</a></h2>

  </li>

  <li>

    <h2><a target="_blank" rel="noopener" href="https://angular.io/cli">CLI Documentation</a></h2>

  </li>

  <li>

    <h2><a target="_blank" rel="noopener" href="https://blog.angular.io/">Angular blog</a></h2>

  </li>

</ul>
app.component.spec.ts:
This file is used for testing purpose only.
import { TestBed, async } from '@angular/core/testing';

import { AppComponent } from './app.component';


describe('AppComponent', () => {

  beforeEach(async(() => {

    TestBed.configureTestingModule({

      declarations: [

        AppComponent

      ],

    }).compileComponents();

  }));


  it('should create the app', () => {

    const fixture = TestBed.createComponent(AppComponent);

    const app = fixture.debugElement.componentInstance;

    expect(app).toBeTruthy();

  });


  it(`should have as title 'my-first-app'`, () => {

    const fixture = TestBed.createComponent(AppComponent);

    const app = fixture.debugElement.componentInstance;

    expect(app.title).toEqual('my-first-app');

  });


  it('should render title in a h1 tag', () => {

    const fixture = TestBed.createComponent(AppComponent);

    fixture.detectChanges();

    const compiled = fixture.debugElement.nativeElement;

    expect(compiled.querySelector('h1').textContent).toContain('Welcome to my-first-app!');

  });

});
app.component.ts
You can change the name of your app here. You just have to change the title.
import { Component } from '@angular/core';


@Component({

  selector: 'app-root',

  templateUrl: './app.component.html',

  styleUrls: ['./app.component.css']

})

export class AppComponent {

  title = 'my-first-app';

}import { BrowserModule } from '@angular/platform-browser';
import { NgModule } from '@angular/core';
import { AppComponent } from './app.component';
@NgModule({
declarations: [
AppComponent
],
imports: [
BrowserModule
],
providers: [],
bootstrap: [AppComponent]
})
export class AppModule { }
Leave a Reply