Angular 7 Environment Setup
In this page, you will see how you can install the prerequisites needed to run your first Angular 7 app.
Install Visual Studio Code IDE or JetBrains WebStorm
You must have an IDE like Visual Studio Code IDE or JetBrains WebStorm to run your Angular 7 app.
VS Code is light and easy to setup, it has a great range of built-in code editing, formatting, and refactoring features. It is free to use. It also provides a huge number of extensions that will significantly increase your productivity.
You can download VS Code from here: https://code.visualstudio.com
JetBrains WebStorm is also a great IDE to develop Angular 7 apps. It is fast, attractive, and very easy to use software but, it is not free to use. You have to purchase it later, it only provides a trial period of 30 days for free.
You can download VS Code from here: https://www.jetbrains.com/webstorm/download/#section=windows
We are using JetBrains WebStorm in this tutorial.
Install Node.js
You should install node.js to run your Angular 7 app. It manages npm dependencies support some browsers when loading particular pages. It provides required libraries to run Angular project. Node.js serves your run-time environment as your localhost.
See how to install node.js: install-nodejs
Or
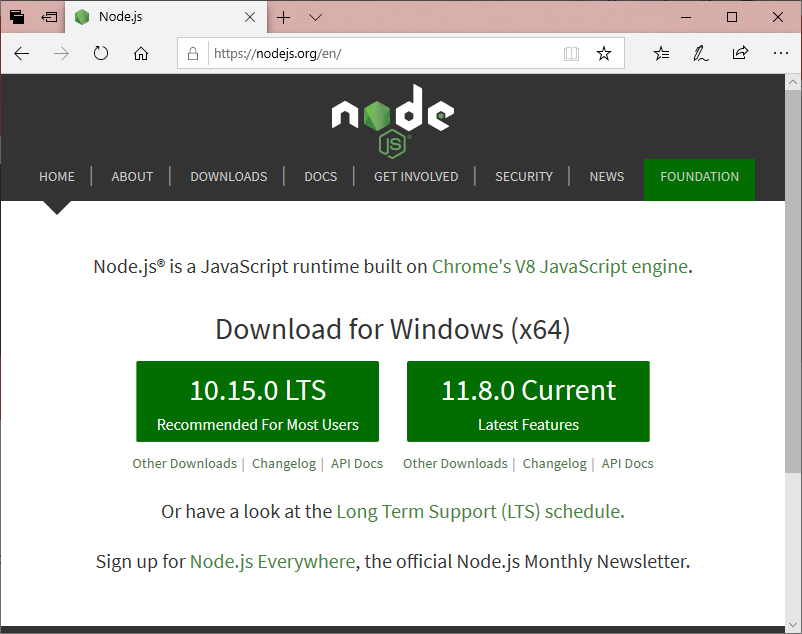
Just go to node.js official website https://nodejs.org/en/
Download and install latest version of node.js. In my case, it is 11.8.0

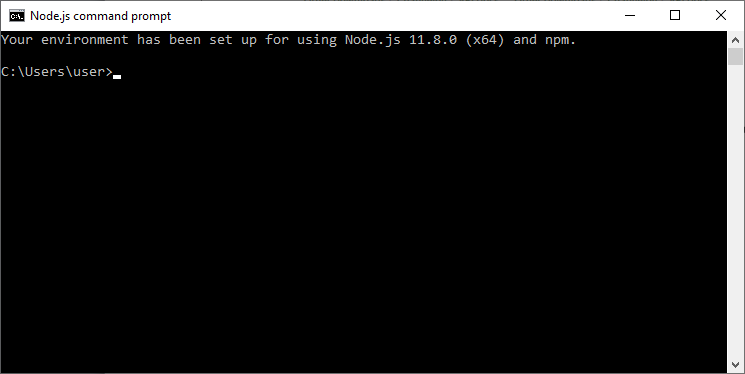
After the successful installation, you will see command prompt like this:

Use npm to install Angular CLI
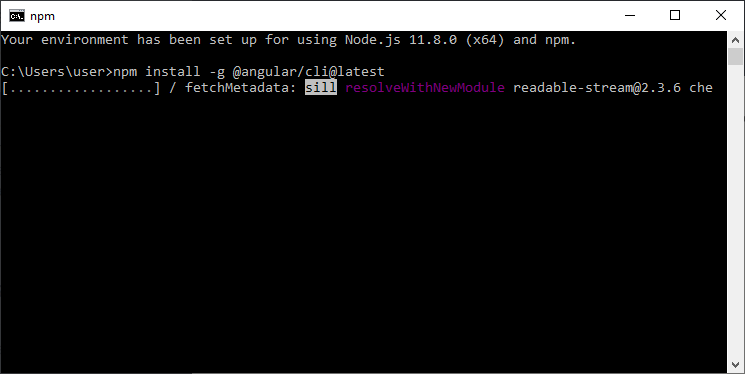
Run the Angular CLI command to install Angular CLI
npm install -g @angular/cli 
or
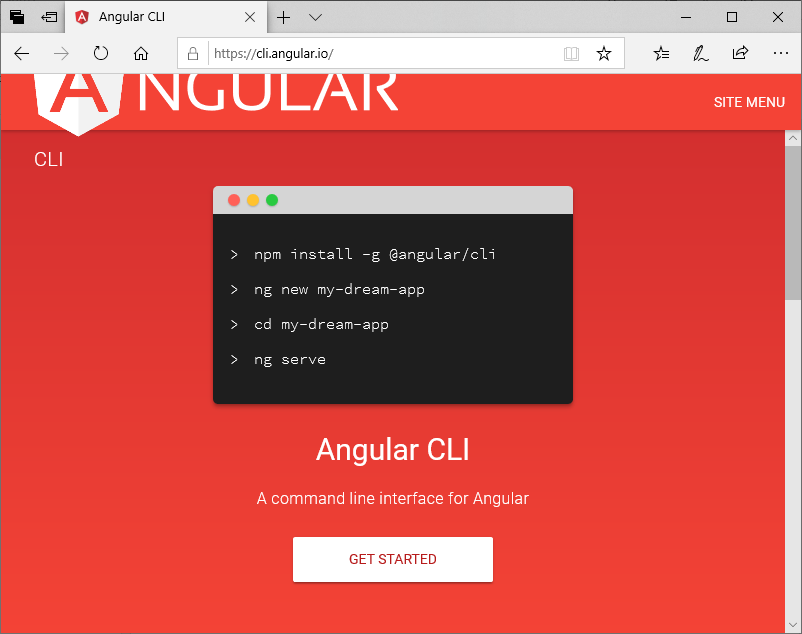
Just go to Angular CLI official website https://cli.angular.io/
You will see the whole cli command to create an Angular app. You need to run the first command to install Angular CLI. These steps are same for Windows and Mac.

npm install -g @angular/cli

ng new my-dream-app

cd my-dream-app

ng serve
Leave a Reply