In Angular 7, property binding is used to pass data from the component class (component.ts) and setting the value of the given element in the user-end (component.html).
Property binding is an example of one-way databinding where the data is transferred from the component to the class.
The main advantage of property binding is that it facilitates you to control elements property.
For example
We are going to add a button to “component.html” page.
<p>

  Server2 is also working fine.

</p>

<button class="btn btn-primary">Add Server</button>import { Component, OnInit } from '@angular/core';
@Component({
selector: 'app-server2',
templateUrl: './server2.component.html',
styleUrls: ['./server2.component.css']
})
export class Server2Component implements OnInit {
constructor() { }
ngOnInit() {
}
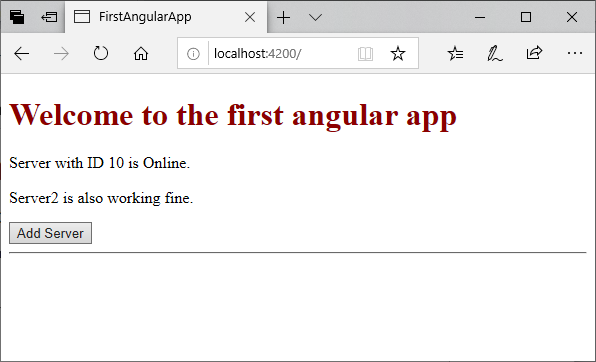
}Output:

Let’s see how property binding works?
First, we are going to disable the button by using disabled attribute.
<p>

  Server2 is also working fine.

</p>

<button class="btn btn-primary" disabled>Add Server</button>
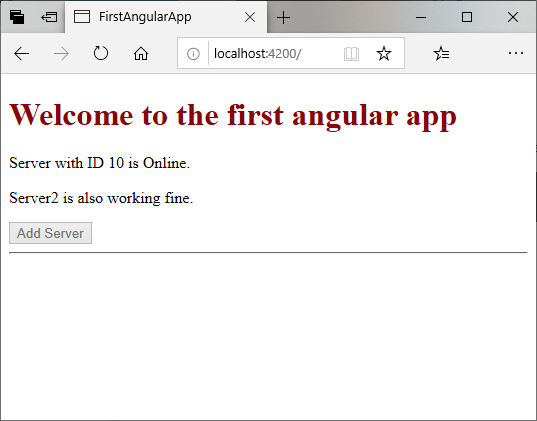
Now, the button is disabled.
Let’s add a new property “allowNewServer” in “component.ts” file which will disable the button automatically but after a specific (settable) time.
import { Component, OnInit } from '@angular/core';


@Component({

  selector: 'app-server2',

  templateUrl: './server2.component.html',

  styleUrls: ['./server2.component.css']

})

export class Server2Component implements OnInit {

 allowNewServer = false;


  constructor() {

    setTimeout(() =>{

      this.allowNewServer = true;

    }, 5000);

  }


  ngOnInit() {

  }


}<p>
Server2 is also working fine.
</p>
<button class="btn btn-primary"
[disabled]="allowNewServer">Add Server</button>Here, we set a time of 5000 millisecond or 5 second. After 5 seconds, the button will be disabled automatically.
This is an example of property binding where a property is bound dynamically.
Output:

<p>

  Server2 is also working fine.

</p>

<button class="btn btn-primary"

        [disabled]="!allowNewServer" >Add Server</button>
By using the above code, you can allow the disabled button after 5 seconds automatically.
Property Binding vs. String Interpolation
We can use property binding as well as string interpolation for databinding cases. For example, let’s add string interpolation in the above example.
<p>

  Server2 is also working fine.

</p>

<button class="btn btn-primary"

        [disabled]="!allowNewServer" >Add Server</button>

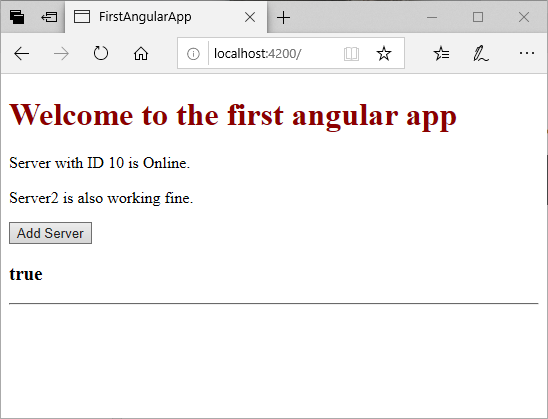
<h3>{{allowNewServer}}</h3>
Here, <h3>{{allowNewServer}}</h3> specifies string interpolation.
Output:

We can do the same task by using property binding also.
Example:
<p>

  Server2 is also working fine.

</p>

<button class="btn btn-primary"

        [disabled]="!allowNewServer" >Add Server</button>

<h3 [innerText]= "allowNewServer"></h3>
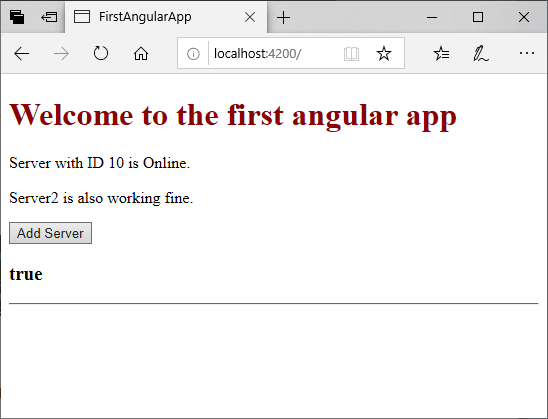
Output:
It will also give you the same result:

But, string interpolation has some limitation. Later, we shall learn where to use string interpolation and where property binding.
Leave a Reply